Copy a Course
- Blackboard Ultra
Last modified: December 23, 2025
You can copy course material and activities from one course to another as long as you have instructor access to both courses.
How to Copy a Course
If you'd like a video of course copying, you'll find one here.
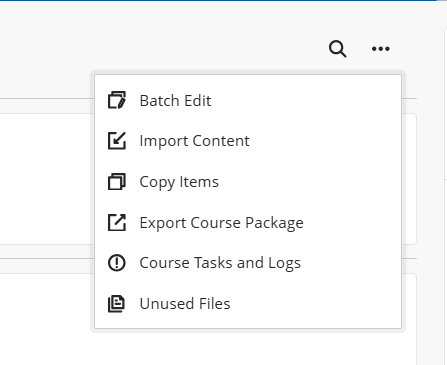
On the Course Content page, select the three dot menu next to the search option on the Course Content page. Select "Copy Items" from the dropdown menu.
A list of your courses appears. If the course you’re looking for isn’t on the first page, use the arrows to navigate or use the search bar.
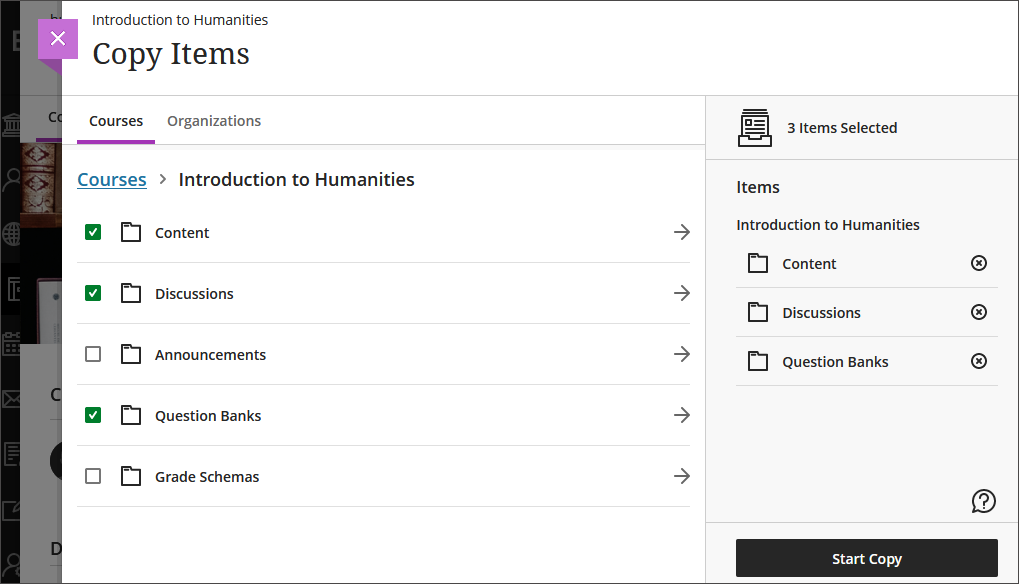
If copying from Ultra to Ultra, we recommend that you select the checkbox next to the name of the course to do a full course copy, which will include Gradebook settings.
When copying from Original to Ultra, it’s usually easier to copy selected items only. Click the arrow, choose just the content you want, and review your selections in the right-hand pane. When you’re ready, select Start copy and the items will be converted for you.
Note that this method does not copy Gradebook settings. However, using Option 1 (copying everything) can result in many unnecessary or stray artifacts being brought into your Ultra course.
A few troubleshooting notes:
If you want to go 'back' within the "copy content" view, follow the breadcrumbs above your courselist instead of closing the pane with the blue "x".
There will be a list of exceptions after conversion from an Original course. In our experience these are always minor changes to formatting and layout, and you can safely ignore them. However, as always, it is best to double check content and test questions every semester to ensure they are up-to-date and accurate.
Announcements will be copied as drafts. You will need to "post" them before students can see them. When you perform a course copy, all settings are preserved (including due dates, visibility states, and release conditions).
Update the Dates in the New Course
After you copy a course from one semester to another you can change availability and due dates using the "Date Management" tool by clicking the "..." in the upper right of the content area next to the magnifying glass and selecting "batch edit"
You will need to select modules or content using the checkboxes on the left before you will have access to the editing options below; until then the options will be greyed out.
Options for Using Date Management
- Use Course Start Date: This lets you changed dates based on a course start date. For example if the previous semester started Aug 31 and a particular assignment was due 21 days later, then if you enter Jan 11 as a new start date the dates associated with that assignment will be set to 21 days after Jan 11.
- Adjust by Number of Days: Here you enter the number of days that you want dates to be adjusted by (positive for forward, negative for backward).
- List All Dates For Review: This option will list all the elements in your class that have dates associated with them. Next to each set of dates you'll find a pencil icon which will allow you to edit them. If you have a large number of dates it may take a while for this report to run - you'll get an email when its complete.
Holidays or days of the week vary so if you use the automatic adjustments you may need to manually adjust some things.