Adding Images to UAS Mail Merge
The UAS Mail Merge tool is versatile, but images must be hosted elsewhere. These instructions will walk through hosting an image in the UAS website CMS, so that it can be reliably a ached to emails using Mail Merge.
- Acquire a file of the image. PNG or JPG formats are the optimal file types. Please note that images should NOT be excessively large, as that will impact their ability to be sent in-line in an email
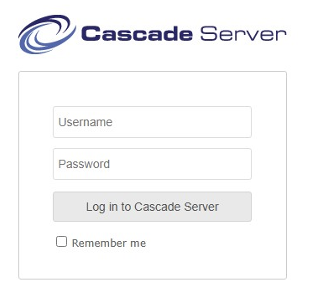
- Access the UAS website CMS (cms.uas.alaska.edu) with your UA credentials If you do not have access, please contact the web coordinator.
- Navigate to a folder that you’d like to host the image. We suggest a dedicated image folder (ex: \helpdesk\images)
- Upload the image to the designated folder:
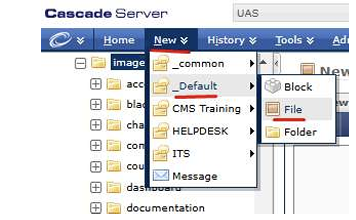
- From the top menu, select New
- Select _Default
- Select File
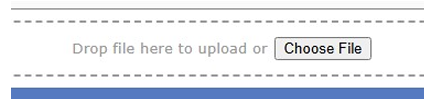
- Upload the image by clicking Choose File, or drag and drop
- (Optional) Enter further metadata
- Click Submit in the bottom-right
- Publish the file
- Click Publish from the top menu
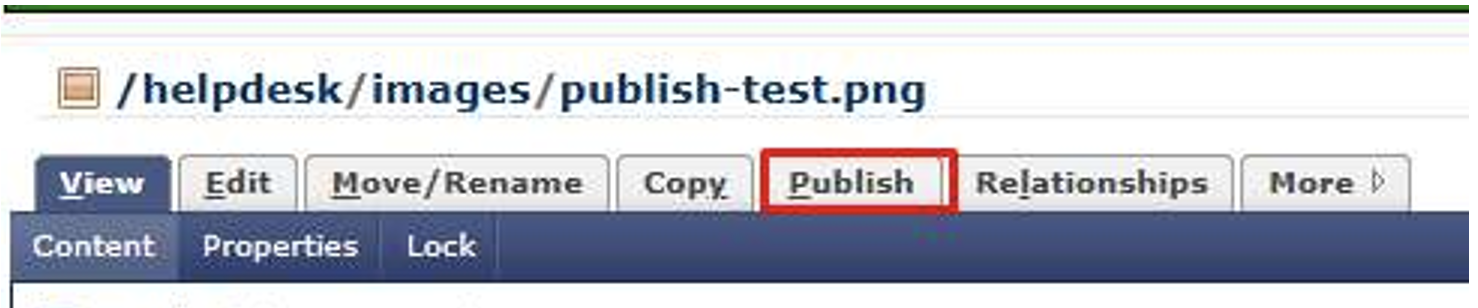
- Click the Submit button
- Click Publish from the top menu
- Note the Address of the image. All images should be assumed to start with https://uas.alaska.edu
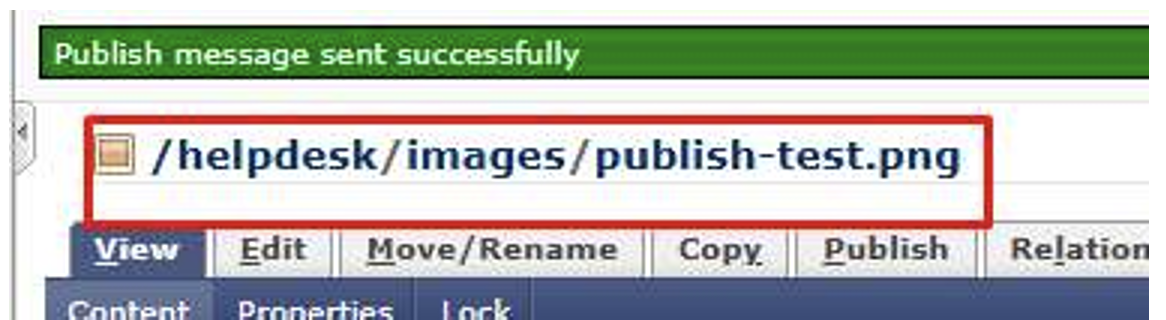
- https://uas.alaska.edu/helpdesk/images/publish-test.png
- Navigate to UAS Mail Merge (uas.alaska.edu/pub/mailmerge)
- Complete the Mailmerge through Step 2: Format message
- Enter the body of the email message until ready to add images
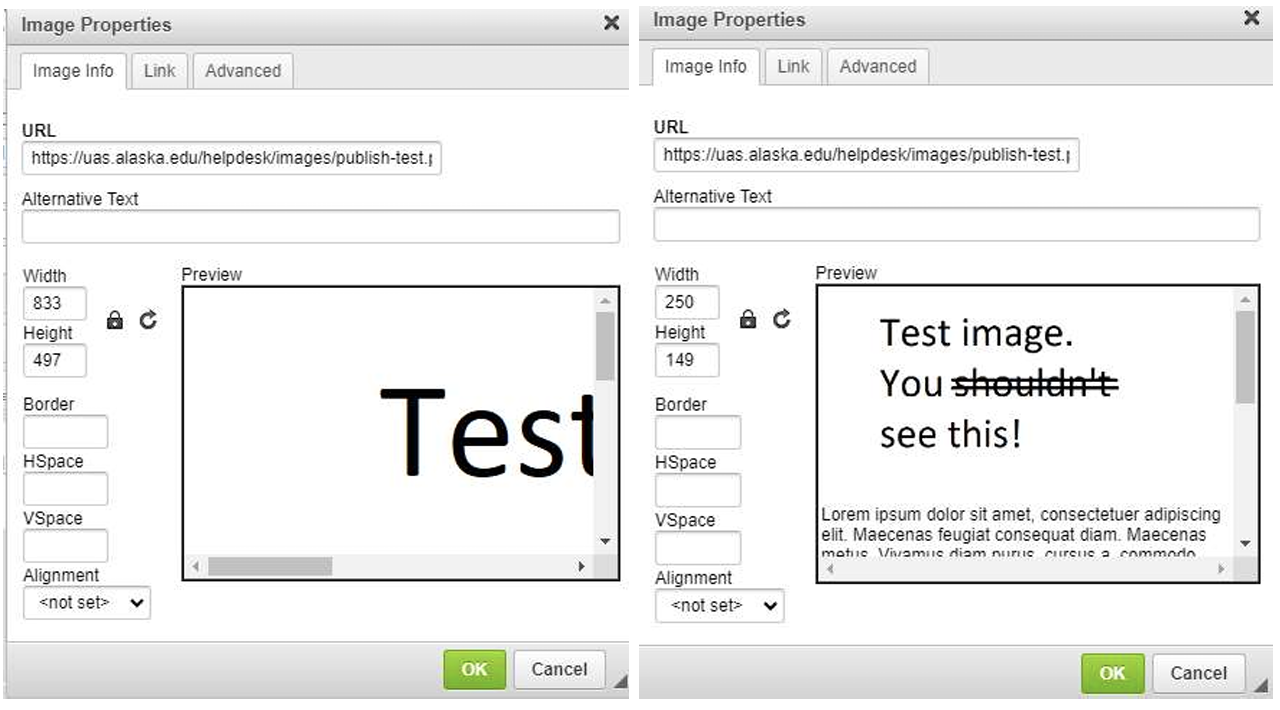
- Click the Add Image button

- In the URL field, enter the full Address as noted in Step 6
- (Optional) Enter additional information about image, including intended size
- Click the OK button
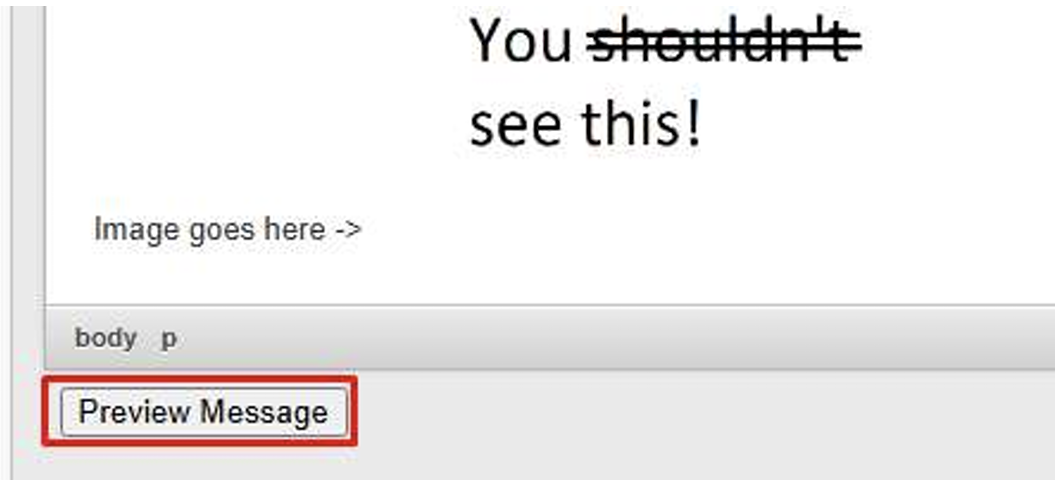
- You can now preview the image in the body of the email.
- To modify the image, select the image and click the Add Image button again
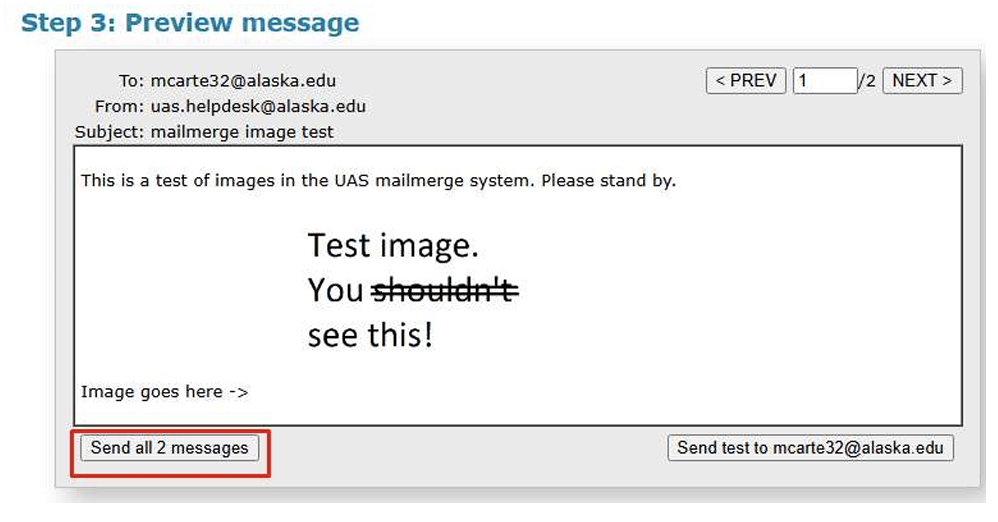
- When the message is formatted correctly, click the Preview Message button
- Step 3: Preview message is the last confirmation before sending. If formatting complete, click the Send all # messages button