Grading with Blackboard
Last modified: January 9, 2026
Rubrics can help you evaluate student work, provide guidance and feedback on work, and simplify your grading workflow.
You are viewing instructions for Original view in Blackboard
Go to the Ultra course view page.
Create a Rubric in Blackboard
You can access the rubrics page by clicking on "Rubrics" in the "Course Tools" section of your navigation links in your Blackboard course. From this page you can create or edit rubrics that can be attached to assignments in your course and utilized during grading.
When you click on "Create Rubric", you are required to first name your rubric. You can then add an optional description and begin working on building your rubric.
Set-Up Options
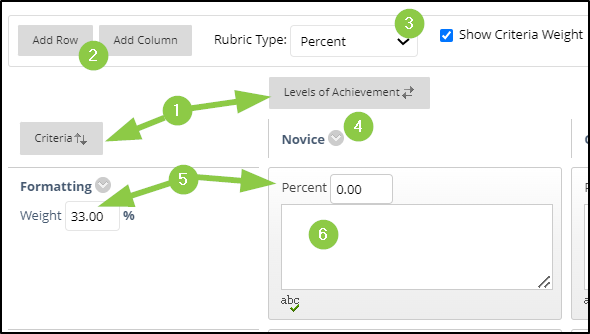
- The rows represent the criteria to be evaluated, and the columns represent levels of achievement. You can reorder columns and rows by clicking on the "Criteria" or "Levels of Achievement" buttons.
- Add rows or columns as needed.
- Change how the rubric will be scored. You can use points instead of percentage. The "point range" and percentage range" options are not recommended.
- Use the drop-down arrows to edit (including change the name) or delete columns.
- Adjust the percentages to weight rows or to assign scores to columns.
- Add a description of expectations to achieve various levels of success for each criteria.
Once you've filled in your rubric and decided on the scoring and weighting as necessary, you can click submit and now you're ready to use it with an assignment.
Attach a Rubric to an Assignment
Create or edit an assignment that you'd like to use with the rubric. In the "Grading Options" section, you will see the "Add Rubric" option.
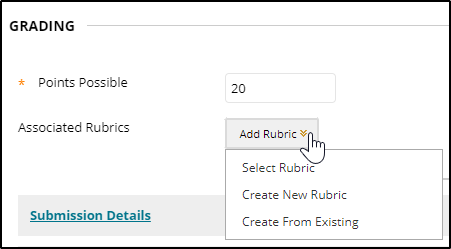
From here you can choose an existing rubric, create a new one just for this assignment, or select an existing rubric that you'd like to make changes to so that it can be used for this assignment. If you choose the 1st or 3rd option, you will see a list of your created rubrics to choose from. Click the checkbox and submit.
Now your rubric is attached to the assignment. You should see a yellow line with information about the rubric just below the "Add Rubric" button.
The icons beside the rubric's name allow you to delete the rubric from the assignment, view the rubric, or edit the rubric.
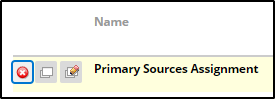
The next icon allows you to mark the rubric as a secondary evaluation rather than a grade. If you want to use it as feedback rather than an actual grade, choose this option.
The last icon allows you to choose whether or not students see the rubric. It is automatically set to "No". The other choices allow students to see the rubric with or without the points attached to the rubric. Allowing students to view the rubric is a recommended practice as it informs students of expectations and helps them plan their assignment accordingly.
Grade using a Rubric
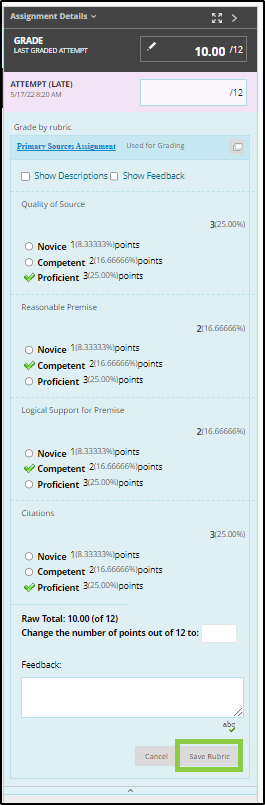
Once students have begun turning in assignments, open the grading platform. You will click on the blue line to open the feedback box and access your rubric.

Click on the rubric's name to open it.

Once the rubric is open, you can click the checkbox for "Show Descriptions" if you want to see the full description for each level of achievement. Then, click the circles to score the student's work. When you click "Save Rubric", the score will be applied and added to the Grade Center column for that assignment.