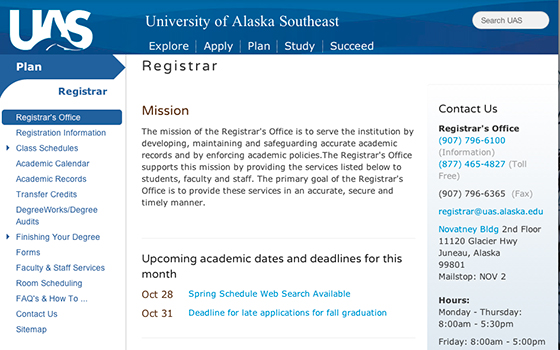
The CMS information provides the authoritative information for all the UAS directories, the faculty/staff web listings, the print directories, and the phone directories.
It is the responsibility of each department CMS manager to ensure that their personnel files are correct and up to date. A missing persons report has been created that compares our CMS directory to Banner for a cross reference. Use this report as a tool for detecting errors that might be otherwise difficult to detect.
Each individual has a web page in the 'dir' folder at the root level of the CMS and the UAS website. Each dir page (representing a single employee) can have several references placed into the 'directory' folder to show where they fit into the organizational structure of UAS. The combination of the information in the dir file and its 'references' in the directory, create our University website and telephone directories.
There are rare cases when a directory is kept in the local folder of a department or school. An example is Student Government, where a member listing is desired but the students are not employees and are not to be included in our full directory.
The data from the dir folder and directory folder is published nightly to refresh our online employee, campus, and department directories.
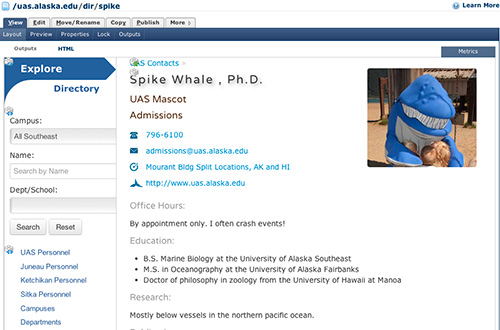
Each faculty and staff at UAS has a web page that is created in the CMS in the folder named 'dir.'
There is another folder named 'directory' which is a structure of folders like the organization of UAS faculty and staff. Once a web page is made in the 'dir' folder, a reference to that page is then placed in the directory's folder that would correspond to their position at UAS.
A staff or faculty may be listed in one or more 'directory' sub-folders, but they only have one web page in the 'dir' folder
Prepare Personnel Photo
- Take a photo of the new person.
- Resize the photo.
- (Info on how to prep a photo for the CMS)
- Upload image into the CMS into the dir folder/images folder. Name the image with uausername.jpg, ex: jhsmith.jpg
- Publish the image to the live server.*
*NOTE: If the image is not published live, you will not see it when you add it to the person's web page in the CMS.
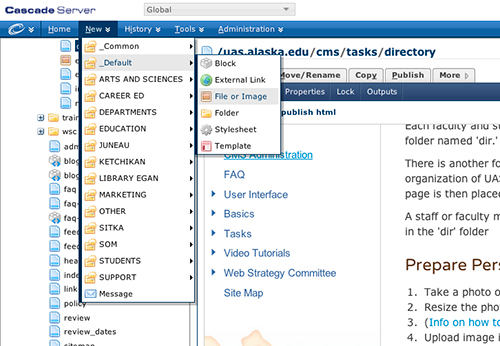
Create a new personnel web page.
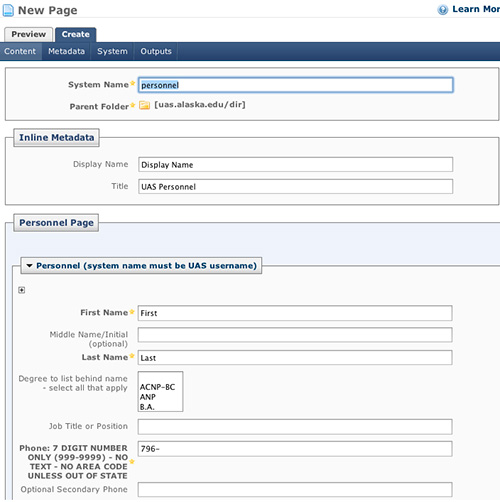
- New>_common> common Personnel Page

Name the file properly
- Make the 'System Name' the person's UA username*.(The new file will automatically go into the 'dir' file.)
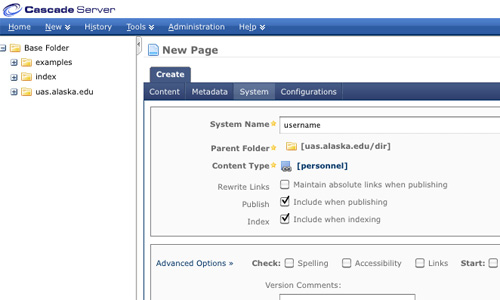
Fill out the information
- Fill in as much information as possible
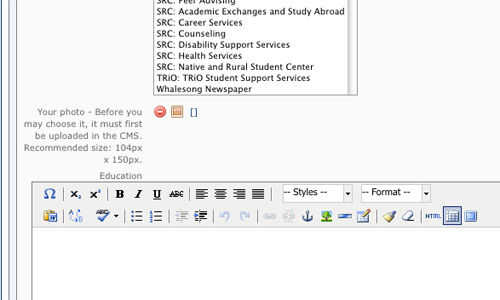
- Add a link to the photo that you brought into the CMS. (Click on the orange square icon and navigate to the image you uploaded in the first step.
Create a reference (alias) to the department directory
- Make a 'Reference*' for the new file by clicking More > Reference
*NOTE: A 'Reference' is like an alias. It points to the actual file, and will be indexed by the CMS as if it were the original file, but it has no content in itself. Multiple References can be made to the same file, which means that a staff person can be listed in more than one department while their information is always kept current in only one location.
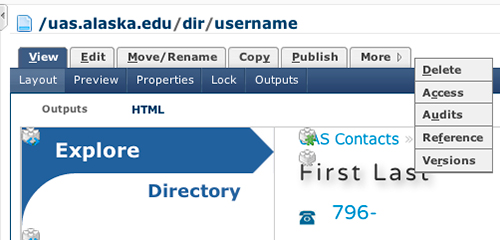
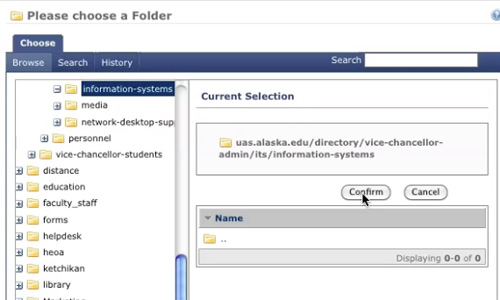
Select Directory folder
- Select the sub-folder in the Directory Folder to place the Reference. (The folder location mimics the UAS organization structure.)
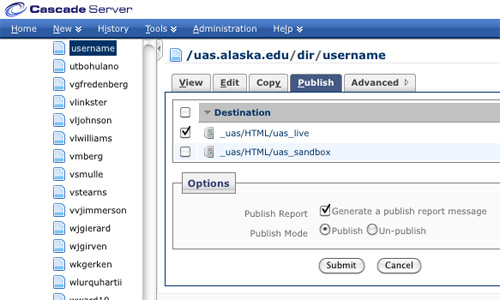
Publish the new personnel file.
- Publish to the live server.
Publish the staff pages
Publish the page(s)* where the new personnel will be listed.
*NOTE: This is the page that would correspond to the placement of the Reference file. So, if a reference were put in a sub-folder for ITS, then the ITS staff page would need to be published to show the new person with a link to their new web page.
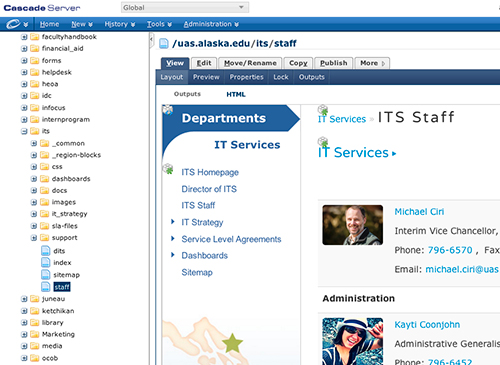
Find the personnel page
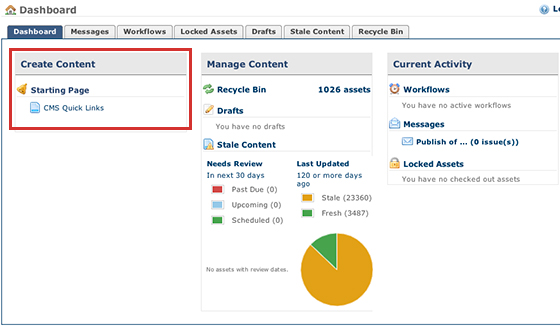
On your CMS homepage dashboard in the 'Create / Manage Content' window a link named 'CMS Quick Links'. Click that link.
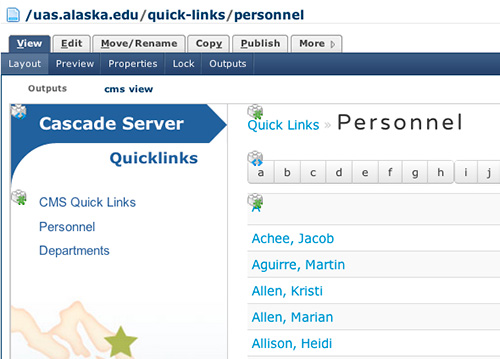
It takes you to a page of links with a sidebar. Click on "Personnel' in the sidebar. You will then see all the personnel listed. Click on the person's name and it will take you to their personnel page. (Personnel pages are located in the 'dir' file and each page named with the UA user name of the employee.)
Edit & submit
Make changes and submit.
Publish the Personnel page
If these edits will be reflected on all your department page (a new phone number for example), then also so go to your department folder and publish the staff page to the live server.
Changes to all the Contacts pages and other system wide directories will take place automatically the next day.
Delete their image
Start with the dir file
- Edit their dir file - it is in the 'dir' folder with the person's UA username as the system name.
- Scroll down the input boxes until you see the file link to their photo.
- Make a note of its location.
- Cancel the edit and go to the image location.
- Delete the image.

Delete all reference files
Return to the dir file
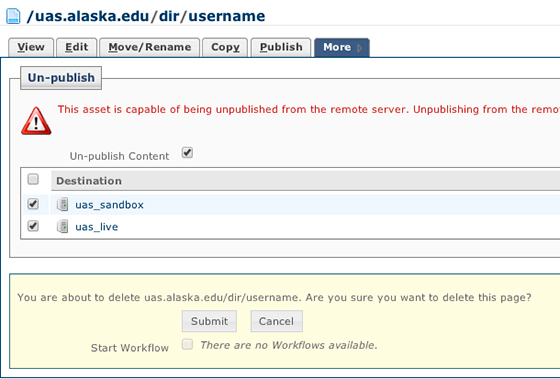
- Click More > Delete - BUT WAIT - BEFORE YOU CLICK SUBMIT
- Delete Reference Subscribers: The dialog will show you all the reference locations. Right click to each one (open in separate window or tab) and delete them.
- Edit any Relationships: If there are documents that are listed as subscribers, you must go to that page or asset and edit/delete any link to the personnel page you were deleting.

Now it is OK to delete the original dir personnel page.
Publish the staff pages
Publish staff page*(s) where that person was listed.
*NOTE: This is the page that would correspond to the placement of the Reference file in the directory folder. So, if a reference were put in a sub-folder for ITS, then the ITS staff page would need to be published.

Find the department address page
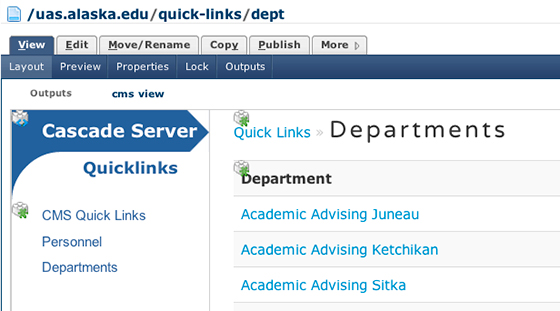
On your CMS homepage dashboard in the 'Create / Manage Content' window a link named 'CMS Quick Links'. Click that link.

It takes you to a page of links with a sidebar. Choose your campus from the sidebar and click. Then click on "Departments' in the sidebar. You will then see all the departments listed. Click on your department and it will take you to your department address page.
Edit & submit
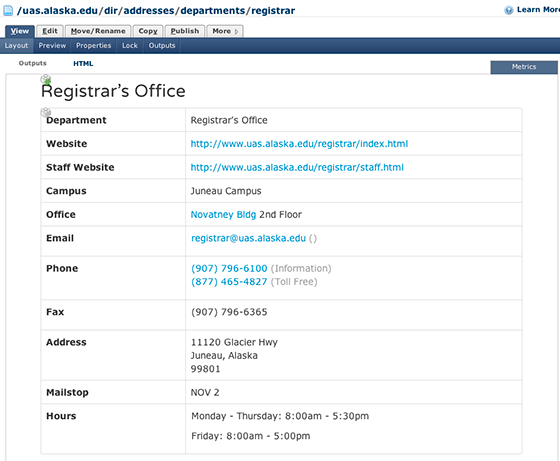
Make changes and submit. This is also where you may include or change your department hours. There is no need to publish the address page.
Publish the department page
These changes will be reflected on all your department page, so go to your department folder and publish the page to the live server.
